
Gravel Driveway
Refurbishing
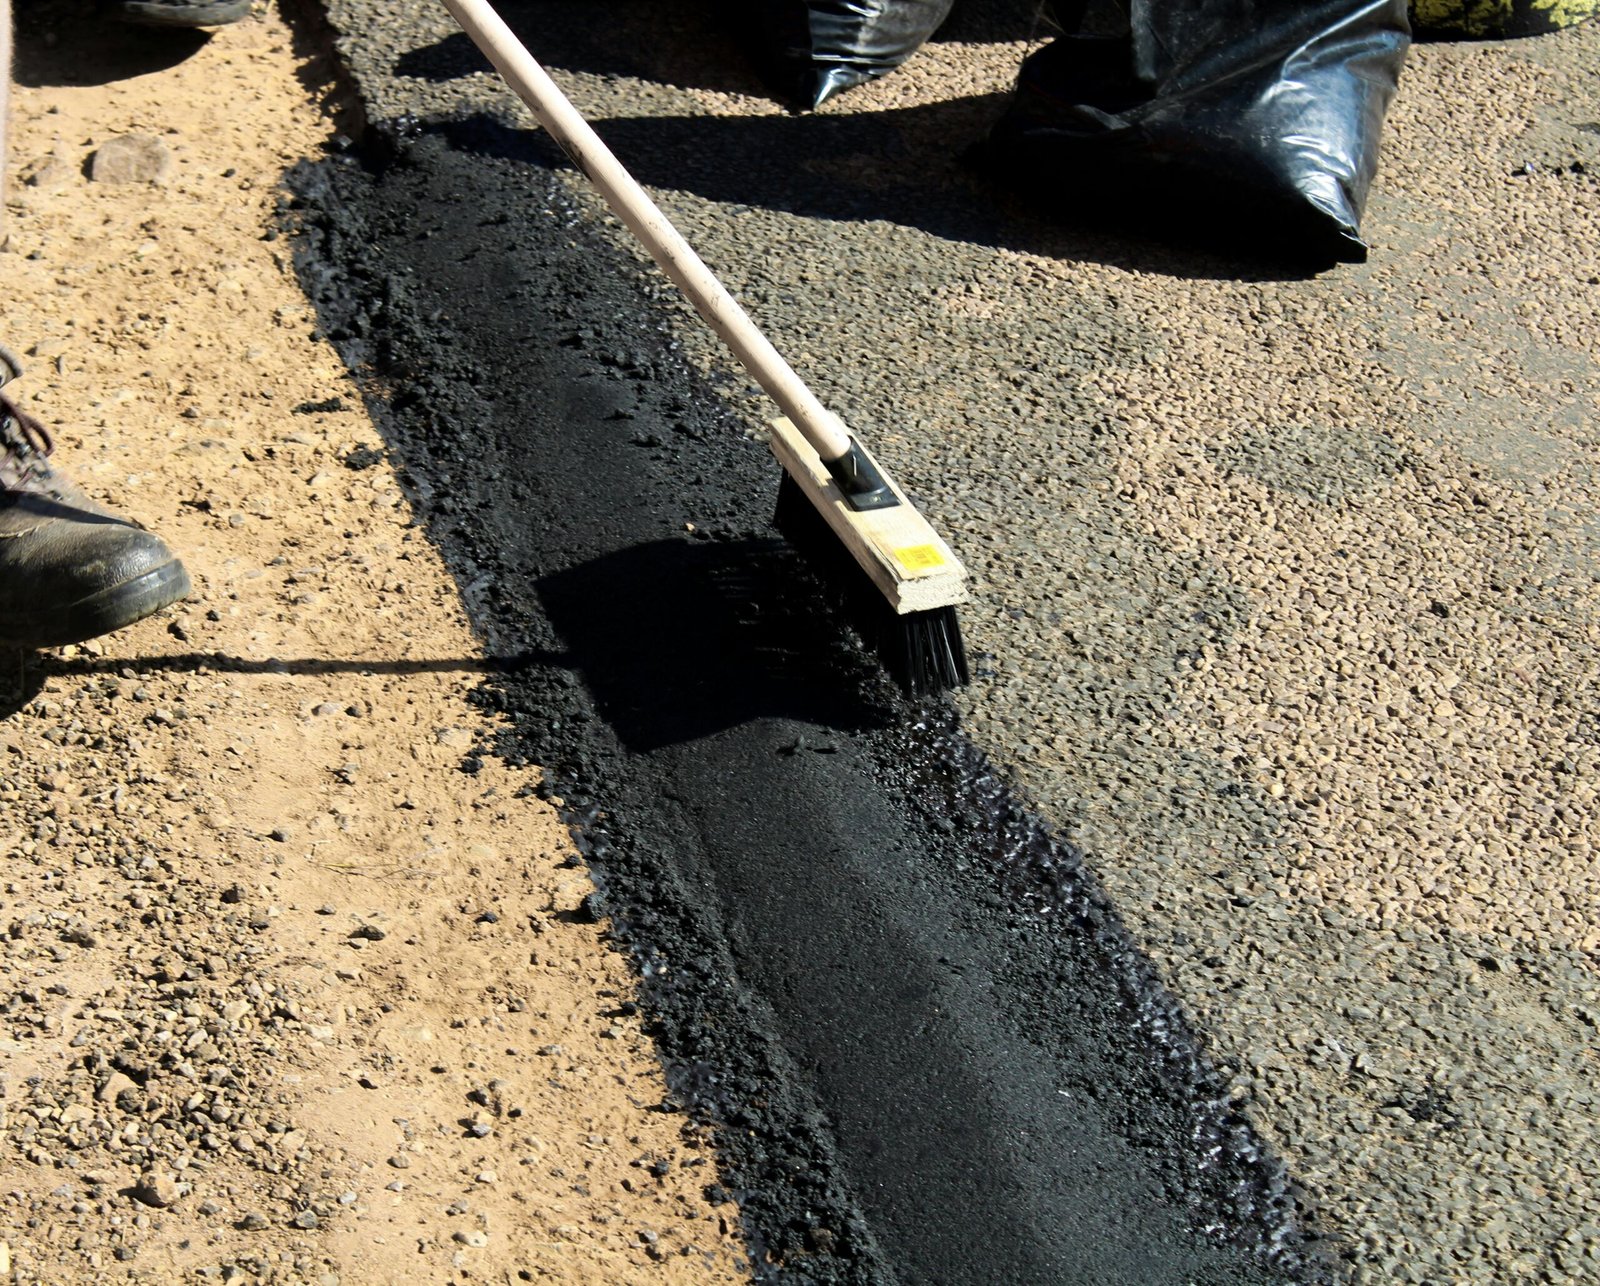
Refurbishing a gravel driveway involves a three-step process: loosening compacted gravel/removing vegetation, grading to create a crown for drainage, and compacting the surface to finish. This includes repairing potholes by filling them with new gravel and ensuring water sheds away from the center.Step-by-Step Gravel Driveway RefurbishingClear and Clean (Prep Work): Remove vegetation, debris, and debris from edges. Use a rake or edger to clean up the edges of the drive.Rip/Loosen Existing Surface: Break up the compacted surface to the depth of the deepest pothole or rut, typically 2–4 inches. This can be done using a box blade with scarifier teeth, a tractor-mounted rake, or a rototiller. This step allows old and new materials to bond.Grade and Shape (Crown): Create a “crown” by shaping the gravel so the center is 2-3 inches higher than the sides, allowing water to shed to the shoulders. Use a box blade to fill in holes and move material from high spots to low areas.Add New Gravel: Spread new gravel (preferably \(3/4\text{”}\) minus, which includes finer materials for better packing) over the graded surface. Use a rake or box blade to spread the new material evenly.Final Grading: Make a final pass with a rake, drag, or grader to achieve a smooth finish and perfect the crown.Compact the Surface: Compact the entire surface using a lawn roller, plate compactor, or by driving a heavy truck back and forth over it. This locks the stones together and prevents immediate loosening.
Need Help?
Our experienced team delivers reliable workmanship, fast project completion, and quality results tailored to your property needs.
Gravel Driveway
Refurbishing
From pothole repair and grading to complete driveway resurfacing, our team delivers durable and professional results built to last.